Subsections are part of the Rpx format. Not applicable to Rpd format.
The subsections have a great similarity to the sections. Unlike the sections, the subsections are used exclusively with RPX reports.
It is strongly recommended to know something about the RPX files to understand the subsections. We recommend to see Reports in RPX format.
Inserting a subsection
To insert a subsection into a report that is being created, it is always recommended to have the RPX already generated with real or fictitious data and declare it to the property "Sample Rpx/Rpd file" in the report properties.
It is possible to insert a subsection from the edit menu.
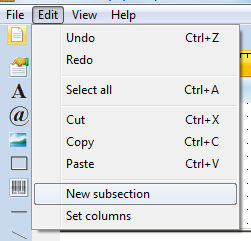
The following window will appear:
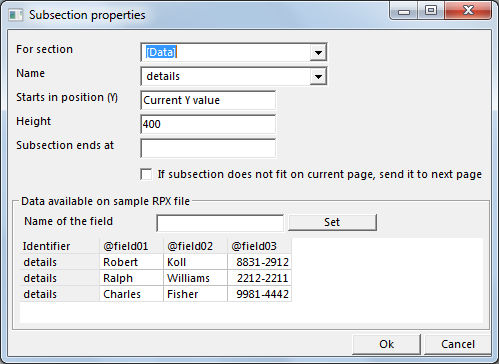
We can see the records listed that have been retrieved from the RPX file.
Let's see the possibilities from this screen:
For section: This field defines the section that the subsection will be inserted to.
Name: this name identifies the subsection and it's read from the Rpx file.
Starts in position (Y): this field defines the vertical position for the subsection each time the subsection appears. The default value is "Current Y value".
Height: defines the height of the subsection. The height of a subsection that is repeated many times in a report can alter the lenght of the report.
Subsection ends at: by default this value is the same as height. Defines the vertical position (Y) where the subsection ends. This position defines also the beginning of the next section or subsection.
Assign the names of the fields
By default, the fields that come from the Rpx file will be named as @field01, @field02, @field03, etc.
Although the report can work without any problem this way, it is possible that changing the names will make the report easier to understand.
To do that, just click on the column:
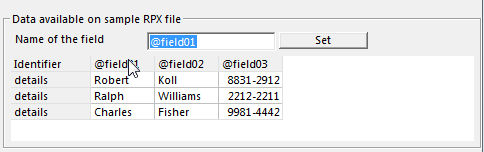
After that just type the new name for the field and click on "set".
Once the names of the fields are defined, just click on the "Ok" button. The new subsection will be inserted to the report.

Please note the subsection declaration.
The subsections can also be resized from the properties page or by dragging the end of the subsection.

Subsection ends at
Like the sections, the subsections have also this property. This property defines the vertical position (Y) where the subsection ends. This position defines also the beginning of the next section or subsection.
Accessing the properties of the subsection
To do that, just double click on the subsection declaration.
See also:
Reports in RPX format
Sections [header], [data] and [footer]
|
